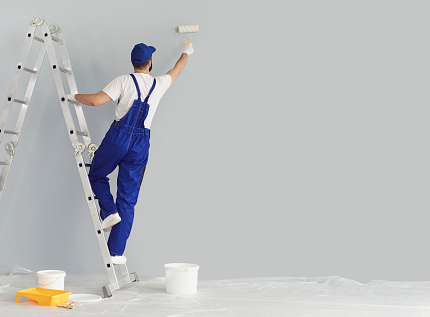
Whether you’re sick of looking at a derelict kitchen wall with peeling paint, or you’ve just moved and are stuck with several blank canvases, it is easy to get overwhelmed if you don’t know where to start. So, for the ultimate painting and repainting tips for every renovation job, keep reading.
Tip #1
The first tip is to make sure you’ve prepared the walls for painting before you go in with any paint. A good idea is to clean the wall with warm, soapy water and then let it dry before giving the area a rub down with some sand paper to improve the adhesion.
If the wall isn’t in good condition you might want to use a paint scraper to remove any loose paint and then rub it down with some sandpaper with more grit. Remember to use dust sheets before starting this process as it can get messy.
Tip #2
The second tip is to always start with the ceiling. For best results, start in one of the upper corners and work across until you reach the opposite corner. Wiggle the brush gently into the corners and then move across to blend the paint without hitting the ceiling.
If you’re struggling with ridges you might want to use a flat brush to feather and get rid of the ridges, too.
Tip #3
This piece of advice is for use when preparing emulsion paint. It can be difficult to work out the right thickness of the paint without ruining your walls or space that is being painted. Typically, if you let emulsion paint that is the right thickness drop onto a surface it will sit on the surface for a moment before it disappears.
Another test for the right thickness is to apply some emulsion to the wall with a brush. The paint should glide on smoothly rather than pull or leave brush marks if it’s the right thickness.
Tip #4
Although this might seem straightforward, you’d be surprised at how many people don’t know this trick. Don’t use paint straight from the tin. Even if it doesn’t need diluting, it’s a good idea to buy a bucket or tray and get paint from that instead. Invest in a table frame for your products too, to ensure that you don’t get backache from constantly bending down.
Tip #5
This final tip is especially handy for those who know they’re likely to be interrupted during the painting process. You can reuse your paint brushes by soaking them in the paint and then wrapping them tightly in plastic wrap and storing them in the fridge.
If returning from picking up your children or letting the dog outside to a bunch of dried-up brushes isn’t on your agenda, simply store them this way and then you return and get back to work straight away.
Final thoughts
Now you have some pro tips for when you’re painting or repainting a space, there’s no excuse to keep putting off your decorating tasks! Good luck with your painting, and hopefully it’s that little bit more enjoyable now that you have the above tips in mind.


